Wednesday, April 3, 2013

Self Evaluation

It is very out of character for me to say this, but I did not hate this project! For the most part.  Of course I hated presenting because presenting is scary and I'm not good at it and it gives me anxiety and its horrible.  But actually doing the project was enjoyable!! For one thing, my mom bought me a bunch of nail supplies, because it was "for school".  I also really do love nails, and before I knew about this project, I was thinking about starting a "career" in nails.  I even found a nail school in Hawaii, which is where I want to live after high  school.  This was good because it felt like I was actually doing something that mattered, versus the waste of time I usually view school work as.  Overall, it was just general fun.  It wasn't always exactly relaxing to paint my nails, because I did mess up a lot and would get pretty angry when it kept happening. But when I started getting better, it was pretty fun to go into my room, open the window, turn on some music and start painting.

In relation to my TED Talk, I would say no.  It wasn't really four to five minutes, I'm estimate it was about two.  My visual component was alright, and it included two (2) pictures of John Lennon, so that made it 500% better! My content was a solid part in my opinion.  Even though it was short, I expressed what I wanted to say and I think the message I was going for was a good one.  The organization was a little weird.  My delivery was basically as it always is, pretty bad.  I definitely read because I can't memorize things. I might have had a little bit of passion, I don't know it was really scary! I can barely handle presenting in class let alone on the flipping stage.  

But besides the TED Talk, this project was pretty okay! It was definitely good to get a break from boring school work, and be able to tell my parents I was doing homework when I was painting my nails! I would give myself 25/30 for the presentation. 

Sunday, March 31, 2013

Final comments!

Jessica S. http://allraveledup.blogspot.com
Caroline Carolinelearns2sign.blogspot.com
Jenny d. designsbyjennyd.blogspot.com

6

For my final post, I will be showing you the culmination of my project.  This is what it has all been leading up to, my ability to give someone a full manicure.  This includes; cuticles, filing, buffing, and painting.  I gave two full manicures to two different people and it was a lot of work, but it turned out pretty well!! I was actually really surprised at the fact that I could do these things! Here are some photographs:


For the first girl, I gave her an ombre nail using the same technique as I used in the first complicated manicure I ever tried during this project.  I also had to push back her cuticles, and file and buff her nails.  I think I painted her nails really evenly and it looked really good when I was finished.  Also, her cuticles were unbelievably long, but I think I pushed them back well and only hurt her a little! For the second girl, I did one hand with the flower design I used previously and one hand with the water marble design (that's what she asked for).  I think I was tired at this point because I was messing up more, but they still turned out really well.  In the end, however, I really do enjoy painting nails and I think that this project helped me shape the skills  that I am going to need in my future nail endeavors! 

Comments

Julia K- http://juliaguitar.blogspot.com/
Sun Min- 20watercolorproject.blogspot.com
Abby M.- http://pressforpaint.blogspot.com

5

I've pretty much just been continuing on trying out different nail designs.  The interesting thing about this project is that there isn't one particular set of skills you can have or master for EVERY different type of nail designs.  Its just like other sorts of arts.  Just because you can draw a horse doesn't mean you can also draw a building.  However, I suppose you could use some of the skills you have from drawing horses, and tune them and build on them to be able to draw the building.  That is sort of what I do with different designs. Here are the different nails I attempted to do this week.

Inspired by this video, http://www.youtube.com/watch?v=K4TWNDqoEM4, are nails with little Hawaiian looking flowers:                                                    


 I think that this one came out very well.  It wasn't necessarily the hardest design but I had to use a dotting tool, and since I didn't have one I had to make my own out of sticking a pin into a pencil, and it worked well.  I think it is in great likeness to the original.


The above design was inspired by this video: http://www.youtube.com/watch?v=Nw2bqnsBzcY.  This one was pretty successful as well.  Instead of using a nail striper to paint the trees and birds, I used a nail\pen.  You would think that this would be a lot easier, but it came with its own set of struggles.  It was hard to make a solid line, and you could only use downward swipes, like you were using a paintbrush.  This design is another example of having to use previous skills in different situations.  The background for these nails was the gradient technique I used in a previous week.


 These nails were inspired by this video: http://www.youtube.com/watch?v=KpTskoTf1SY.  They were supposed to be roses but they ended up just being embarrassing.  I think the reason that I did so badly on these was that I didn't use much patience.  I was supposed to be making small and precise lines but they just ended up as blobs.  The only good thing about this was that the base color was applied well, which is actually becoming more of a standard for me.
Finally, I tried a water marble technique, which I learned from this video: http://www.youtube.com/watch?v=ziUBMEzshgo.  I attempted it twice:


The first time, only two of the nails really turned out well, but I liked the results of the second attempt better.  These nails were different because they weren't as much about brush control or painting, it was a very unique technique.  It was interesting.
My next post will showcase my final product: a full manicure on another person's hands.

Tuesday, March 19, 2013

Some Pretty Interesting Blogs

That I commented on
Kylie Mountain http://teamcaine.blogspot.com/
Ben Chaiken http://www.the-bluegrass.blogspot.com/
Remi Ginsberg http://remisgeniusprojectblog.blogspot.com/

4

I achieved some positive and negative results with nails this week. 
Here are the manicures I tried out on myself, incorporating designs.


This one was supposed to be a sort of ombre design whose technique i learned from pearlsandpolish.com and I had to use a makeup sponge and sponge the colors on to make a gradient even though it wasn't actually a gradient because the colors were really different but they did blend together.  It was a nice effect not to sound to full of myself but I have to admit this one looked beautiful, the picture doesn't really do it justice though.


This one was a mixture of a design I got from my baby pearlsandpolish.com with a bit of my own twist it was whatever.


For this one, I painted my nails a nude color then did different sorts of tribal designs over it with a nail pen.  I thought this design up myself.  It turned out okay but I didn't wait long enough on some nails so they weren't completely dry and the pen sort of dug into it and looked nauseating.  But I did okay in the end.
These white nails were the base for the city skyline nails below, I just wanted photograph them to show the progress I've been making if you compare these nails to even my best manicure in my previous post, you can tell I've made a lot of progress which is pretty gnarly.  My brush control is improving so much.
And here is the City Skyline nail design which I got from this tutorial on Youtube: http://www.youtube.com/watch?v=R7tE6kwq8vM
Haha
I had to start with the sponge gradient I did in the first design which was okay but then making the cities I am so sorry I just ruined it.  I think I will come back to this design later.


What it was supposed to look like


 These last few pictures are of my sisters nails that I did, which was basically a disaster.  I actually started crying during this. My sister is really bossy and wouldn't even let me do her cuticles like that doesn't even make sense how am I supposed to do her nails if her cuticles are in the way.  She kept telling me what to do and yelling at me when she thinks I am doing something wrong.  It was really stressful and awful, and not a good experience for the first time painting someone's nails.  They turned out pretty bad.  Next week I hope to paint someone's nails who is a little more cooperative. 


One problem I have encountered is how I haven't really been able to practice shaping as much as I want to. Each time I file a nail, I shape it of course but I don't have nails long enough to practice almonds or points which is sad.  Next week I am going to start on other people's hands more and start with maybe some more advanced techniques??

VLOG

Vlog explaining my inspiration and views on the controversial subject of nail art.

Monday, March 11, 2013

I commented on the blogs of
Eric Huang calmbone.blogspot.com
 Jenna Rollins jennamakesfood.blogspot.com
and Caroline Alberti, http://carolinelearns2sign.blogspot.com/

3

This week I started painting techniques. It was interesting to learn the proper way to paint nails because I've been doing it in such a mediocre way for so long.  I looked up some of the proper ways and they contrasted highly with what I have been doing my entire life.  I learned that:
  1. When painting the nail, it is best to use slow, small stroke. Do not try to use long strokes. 
  2. Leave about 1mm of naked nail around the paint.
  3. Do not go over the cuticle NEVER.
  4. Use a generous amount of polish.
  5. Start at the bottom of the nail, create a smooth line near the cuticle. 
Here are three sets of manicures I did to my own hands throughout the week.  I think the progress I'm making is already pretty evident.  


My brush control is getting a lot better over the week, I am getting less and less paint on my skin.  Also as you can see in the first set of pictures my cuticles were offensive, and I used the pusher/clipper I bought to get rid of them so I could paint them better.  I have to work on getting the coats more even. Brush control seems to be something that you just have to keep practicing to perfect. Next week I will continue to practice basic painting and start working on designs.  I have a lot of different ideas.  I got a lot of ideas from  this one woman who has a blog called polishandpearls.com who has so many good ideas, tutorials, and tips.  I actually want to marry her I love her. Some of her more simple designs I will start to work on next week.

As I've mentioned, I purchased a cuticle pusher for this project.  I think I only used it on the last set of pictures I did, the red nails.  That was really interesting.  First I had to soak my nails in warm water, then I pushed the cuticles, back into my skin which felt like the most disgusting thing and then used the clipping side to remove cuticle overgrowth on the sides.  It was worth it though, and made my nails much easier to paint.

Also, next week I am going to start practicing on other people.  It feels a lot different to paint someone else's nails.  Hopefully it will be easier and I will have more brush control.

Friday, March 1, 2013

2

This week I started studying shaping nails, basic nail care and health tips, and the right tools.

Here is some photographic evidence of my first official attempt at shaping. I tried to learn the techniques from these websites:
http://www.nailsmag.com/article/474/getting-nails-into-shape
http://www.sallyhansen.co.uk/nail-shapes
My cuticles really bad.
 Here is the SQUOVAL- hybrid of a square and an oval- on my left thumb.  I asked some of women I know who know nails, and the feedback I got for this was that it was too much oval and not enough square, but that it was good.
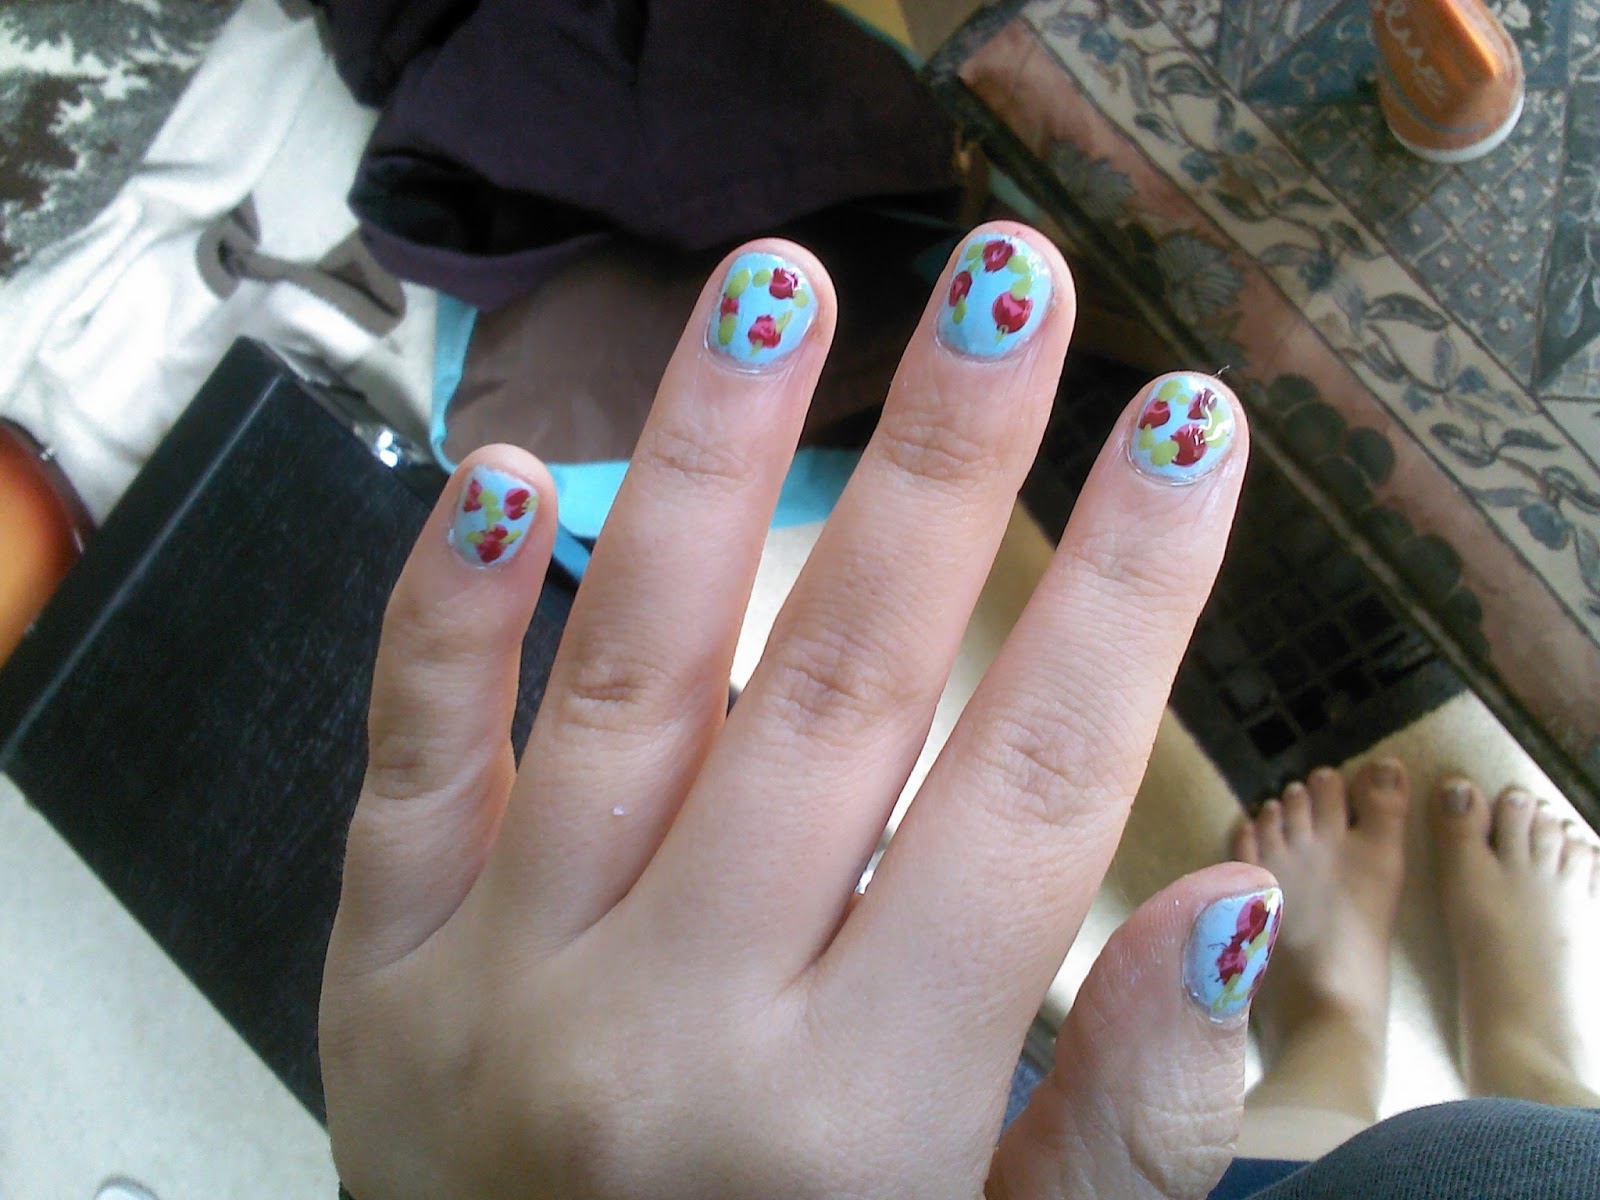
 Here is the almond/oval. This is one of the more classic shapes for long nails.  This one was said to be good, but my mom thinks that is too pointy.  I personally think it looks good in the picture, but afterward I thought I had to keep filing and now it looks a little lopsided.

Here is the square on my pinky.  This one was difficult because its hard to get the sides to be perfectly straight and the top to be flat, but blended into the sides.  I've heard this one is too round, which I agree with.   I guess that makes this one like a squoval too then?
Here are two rounded ones- on my pointer and  middle finger.  The pointer finger is supposed to be a short round, and I think that one turned out really well.  It actually looks beautiful so.  The middle finger is supposed to be taller rounded, or "rounded with straight sides".  I tried to straighten the sides, but they just became really rounded but it looks pretty good for rounded.
Finally, we have the pointed nail on the right thumb.  The nail was a little short to create the full pointed effect, but I think i pulled it off okay. There is definitely a point.

So far I have started five of the main shaping techniques.  Its pretty hard right now and they are not turning out oh so well.  I have only been practicing on my own hands so far, so I will need to start working on other people's hands...Today I practiced on two other people's hands.
I filed and buffed this girl's hand.  Her fingernails were already very short and she had a curved nail bed, so i made them rounded at the to.


 I also filed and buffed this girls hand, and her nails were longer but they were really weak I think, and they  kind of broke when I filed them.

Both times I filed someone else's nails, it was pretty hard and I didn't really do very well.  I managed to get them to look nice, but good shaping was more accidental and wasn't really accomplished with a specific technique.  Also, the nails I did weren't really the longest nails, so I couldn't really experiment with shapes like almond or the point, I sort of had to just smooth or even out the natural shape of the nail.
However, I think I am starting to get used to shaping, and I think that by next week I am going to start painting.
This weekend, I plan to go to a beauty supplies store and get some quality but not too expensive supplies, this is the list I made-

  • Fine grit nail file- glass or embry board
  • A couple of high quality polishes in a variety of colors, along with a few pens for future designs...The brand that I have either heard are good or I found to be good on the internet are: Wet&Wild, Maybelline, Revlon, CoverGirl, Lippman, Essie, Rimmel, China Glaze, and OPI. 
  • Top/Base coats
  • More intense nail buffer
  • Cuticle Pusher and cuticle oil/treatment
  • Acetate based nail polish remover
Hopefully this all will not be too expensive but it doesn't really matter because I will get use out of them for beyond this project.
When I start to paint, I think I am going to start with painting one color, and focus on neatness and evenness of the application.  Even though I have been painting my nails since I was young, I honestly have NEVER been good at it.  I always mess it up really bad.  I also have to work on my skills of painting other people's hands.  I am also going to continue practicing shaping.  

Also, I commented on Sun Min Kim, Julia Klugherz, and Jenna Rollins's blogs.